 K7BUC
K7BUC
Related Articles

Am/FM radio has been a staple in the realm of broadcasting for decades, providing millions with access to news, entertainment, and music. Despite the rise of digital media platforms, Am/FM radio continues to hold its ground as a reliable source of information and an essential part of everyday life. This comprehensive guide aims to explore the history, technology, and impact of Am/FM radio by delving into its origins and evolution, examining the key components that make it function effectively, and analyzing its enduring relevance in today’s fast-paced society.
To illustrate the continued significance of Am/FM radio, consider the case study of Radio Free Europe/Radio Liberty (RFE/RL). Established during the Cold War era, RFE/RL served as a vital means of communication for citizens living behind the Iron Curtain who yearned for unbiased news and alternative perspectives. The power of radio was evident as people eagerly tuned in to listen to broadcasts from RFE/RL despite government censorship attempts. This example demonstrates how Am/FM radio can transcend physical borders and political restrictions to connect individuals across vast distances while empowering them with valuable knowledge and diverse viewpoints. By unraveling the intricacies of Am/FM radio through this comprehensive guide, readers will gain a deeper understanding of the role it plays in our lives and why it remains a relevant and powerful medium in an increasingly digital world.
Throughout the guide, we will explore the origins of Am/FM radio, starting with the invention of the telegraph and its evolution into wireless communication. We will delve into the key technological advancements that made Am/FM radio possible, such as the development of transmitters, receivers, antennas, and modulation techniques.
Furthermore, we will examine how Am/FM radio operates on different frequencies and how these frequencies allow for the transmission of audio signals over long distances. We will also discuss the differences between Amplitude Modulation (AM) and Frequency Modulation (FM), their strengths and weaknesses, and how they have shaped broadcasting practices.
In addition to exploring the technical aspects, this guide will delve into the societal impact of Am/FM radio. We will examine its ability to reach diverse audiences, provide local news coverage, support cultural expression through music programming, and serve as a platform for public service announcements and emergency alerts. The guide will also touch upon how radio stations are regulated by government bodies to ensure fair broadcasting practices.
Moreover, we cannot overlook the challenges faced by traditional Am/FM radio in today’s digital landscape. Streaming services, podcasts, satellite radio, and other digital platforms have disrupted traditional radio consumption patterns. However, despite these challenges, we will highlight how Am/FM radio has adapted by embracing digital technologies like online streaming and podcasting to remain accessible to listeners worldwide.
Overall, this comprehensive guide aims to provide readers with a thorough understanding of Am/FM radio’s history, technology, impact on society, and its enduring relevance in an ever-changing media landscape. By examining its past achievements and current adaptations, readers can appreciate why millions of people still rely on this trusted medium for news updates, entertainment options, community engagement opportunities, and more.
Presets Explained
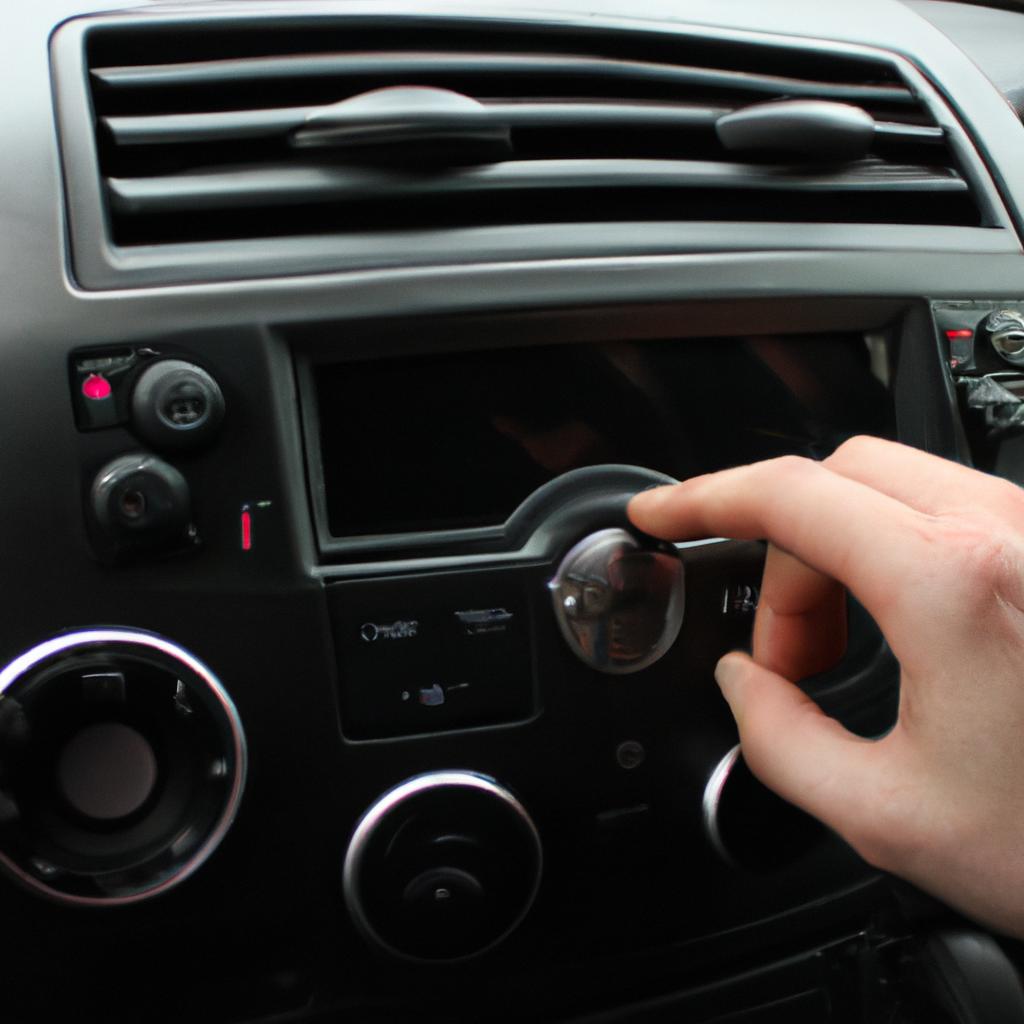
Imagine you’re driving in your car, trying to find a specific radio station. You twist the dial back and forth, searching for the right frequency among countless others. Suddenly, you remember that your AM/FM radio has preset buttons – those little numbered tabs that allow you to quickly access your favorite stations at the push of a button. In this section, we will explore the concept of presets on an AM/FM radio and how they can enhance your listening experience.
Presets serve as personalized shortcuts to your preferred radio stations. They allow you to store specific frequencies or channels so that you can easily switch between them without having to manually tune each time. For instance, let’s say you have five favorite stations: 88.5 FM for classical music, 97.1 FM for news updates, 102.7 FM for rock music, 1050 AM for sports talk shows, and 1070 AM for traffic reports. By setting these frequencies as presets on your radio’s buttons (usually labeled with numbers), you can instantly jump from one station to another by simply pressing the corresponding button.
To further illustrate their convenience, consider the following benefits of using presets:
- Effortless Navigation: With just a press of a button, presets eliminate the need to manually search through multiple frequencies.
- Personalization: Presets allow listeners to curate their own collection of preferred stations according to their individual tastes and interests.
- Time Efficiency: Rather than spending valuable time scanning through various frequencies every time you want to change channels, presets provide quick access to desired content.
- Reduced Distractions: By minimizing distractions caused by diverting attention away from driving tasks while searching for stations, presets contribute to safer travels.
To better understand how presets work in practice, refer to the table below which demonstrates a hypothetical scenario where different genres are assigned preset numbers:
| Preset Number | Genre |
|---|---|
| 1 | Classical Music |
| 2 | News |
| 3 | Rock Music |
| 4 | Sports Talk Shows |
With presets, you can effortlessly switch between these genres by simply pressing the corresponding preset buttons. This not only simplifies your radio experience but also allows for a more enjoyable and tailored listening session.
As we delve deeper into the functionalities of AM/FM radios, understanding how to seek stations will be our next focus. So let’s explore different techniques that enable you to discover new frequencies or channels with ease.
How to Seek Stations
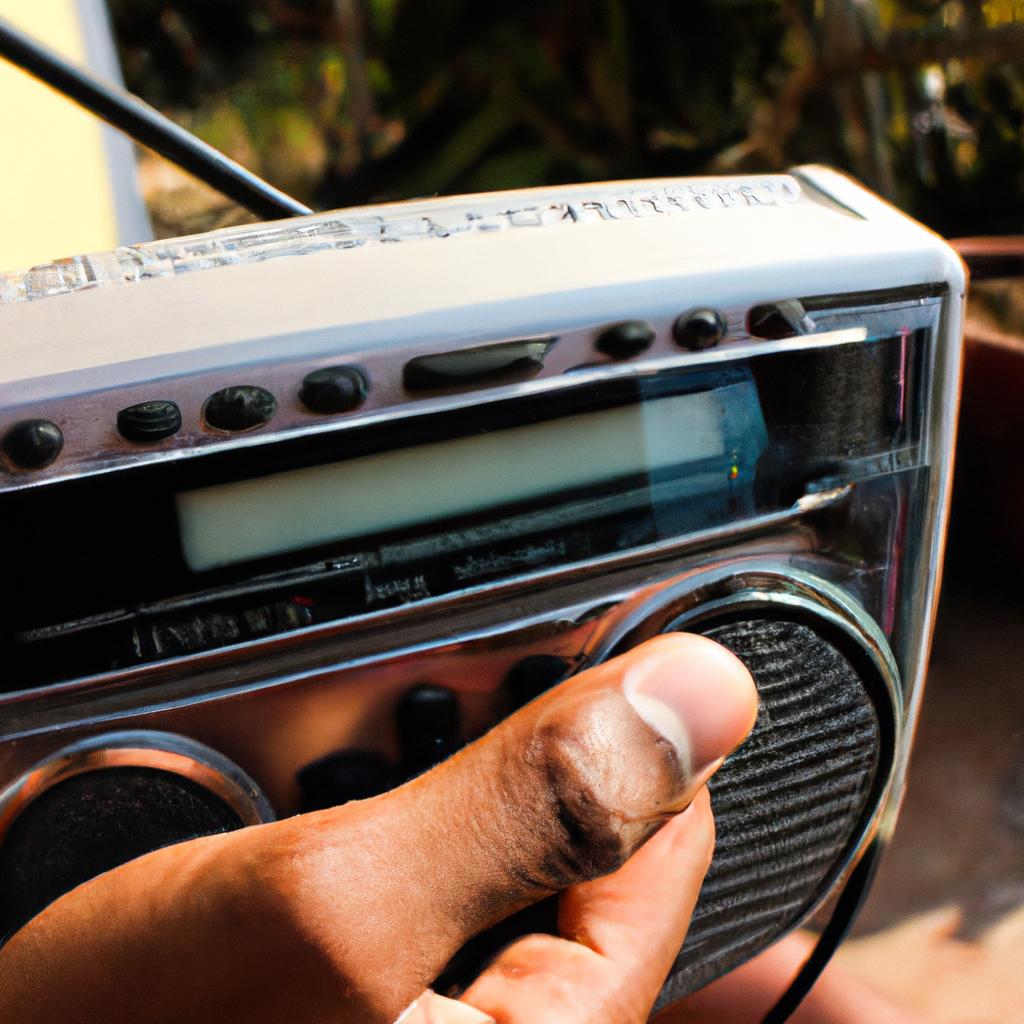
After understanding how to set presets on your AM/FM radio, the next step is finding and tuning in to your favorite stations. Let’s consider an example scenario: imagine you are driving through a new city and want to find a local jazz station. By following these simple steps, you can easily locate and enjoy your desired radio station.
To begin, start by pressing the “seek” or “scan” button on your radio. This function allows the radio to automatically search for available stations in your area. As the scan progresses, pay attention to any stations that catch your interest momentarily. Once the scanning process is complete, take note of these stations or jot them down so that you can revisit them later.
Now that you have identified a few potential options, it’s time to evaluate each one more closely. Consider factors such as signal strength, audio quality, and content relevance to determine which station suits your preferences best. Here is a bullet point list summarizing some key considerations:
-
Signal Strength:
- Clear reception with minimal static
- Consistent signal without frequent dropouts
-
Audio Quality:
- Balanced sound with no distortion
- Adequate volume level for comfortable listening
-
Content Relevance:
- Programming aligned with preferred genre or interests
- Engaging hosts or DJs providing entertaining commentary
By taking into account these criteria, you will be able to narrow down the list of potential choices and identify the ideal station for your needs. To assist you further in making this decision, refer to the table below comparing three different stations based on their signal strength, audio quality, and content relevance:
| Station | Signal Strength | Audio Quality | Content Relevance |
|---|---|---|---|
| Jazz FM | Strong | Excellent | High |
| Cool Hits | Moderate | Good | Medium |
| Rock FM | Weak | Fair | Low |
Based on the table, it is evident that Jazz FM offers the strongest signal strength and excellent audio quality, making it an ideal choice for jazz enthusiasts seeking high-quality content.
In your quest to find the perfect station, remember to explore different genres and stations to expand your musical horizons. By following these steps and considering various factors such as signal strength, audio quality, and content relevance, you can easily find a station tailored to your preferences. Next, let’s delve into mastering the scan function to further enhance your radio experience.
Mastering the Scan Function
Having understood How to Seek Stations on your AM/FM radio, let us now explore another essential feature that can enhance your listening experience – mastering the scan function.
Imagine you are embarking on a long road trip and want to find some new music or interesting talk shows to keep you entertained along the way. The scan function of your AM/FM radio allows you to quickly browse through available stations without having to manually tune each one. By efficiently scanning for signals, you can discover new content effortlessly and make the most out of your radio’s capabilities.
Using the Scan Function Effectively:
To effectively utilize the scan function on your AM/FM radio, consider the following tips:
- Familiarize yourself with the controls: Locate the scan button or switch on your device. Become familiar with its placement and operation so that you can easily activate it whenever needed.
- Adjust scan duration: Some radios allow users to set the length of time spent on each station during scanning. Experiment with different durations, such as 5 seconds or 10 seconds per station, until you find what works best for you.
- Note down interesting findings: Keep a notepad handy while using the scan function. Jotting down intriguing stations or songs helps in remembering them later when looking for specific content.
- Refine preferences further: Once done scanning, go back to any promising stations noted earlier and spend more time listening to them individually. This will enable a better assessment of whether they align with your personal taste.
Eliciting an Emotional Response (Bullet Point List):
The scan function offers several benefits that contribute to an enhanced listening experience:
- Discover hidden gems: Uncovering previously unknown stations can introduce you to fresh genres or captivating conversations that broaden your musical horizons or stimulate intellectual curiosity.
- Save time and effort: Instead of manually tuning each frequency individually and potentially missing out on interesting content, the scan function allows you to quickly sift through available stations.
- Stay updated with local news: Scanning can help you keep up-to-date with local happenings by stumbling upon community radio stations that provide hyper-localized information.
- Spark nostalgia: Occasionally, scanning might take you back in time as you stumble across a classic hit or a nostalgic jingle from your childhood.
Eliciting an Emotional Response (Table):
| Benefit | Description |
|---|---|
| Discover hidden gems | Unearths new and exciting music genres or engaging talk shows |
| Save time and effort | Avoids the need for manual tuning of each station individually |
| Stay updated | Provides access to regional news and updates |
| Spark nostalgia | Brings back memories through encountering old favorites |
By Mastering the Scan Function on your AM/FM radio, you have unlocked a world of possibilities. Now, let’s delve into the art of tuning in to your favorite stations without missing out on any desired content.
Tuning in to Your Favorite Stations
Now, let’s delve further into tuning in to your favorite stations and maximizing your listening experience. To illustrate this, consider a hypothetical scenario where John, an avid music lover, wants to find new radio stations while driving across country.
When it comes to finding and fine-tuning your preferred radio stations, there are several key steps you can follow:
-
Manual Tuning: If you have a specific station frequency in mind or wish to explore neighboring frequencies manually, use the manual tuning option available on most radios. By adjusting the dial incrementally, you can pinpoint and lock onto desired channels.
-
Preset Programming: Many modern radios offer preset programming options that allow users like John to save their favorite stations for quick access later on. This feature saves time by eliminating the need for manual search every time he turns on his radio.
-
Seek/Scan Function: The seek/scan function is particularly useful when you want your device to automatically search for available stations within a certain range. With just a single press of a button, John’s radio will efficiently tune into each channel briefly before moving on to the next one until all available stations are scanned.
-
RDS (Radio Data System): Some advanced radios come equipped with RDS technology which displays additional information about each station such as artist names or song titles while listening. This innovative feature enhances John’s overall experience by providing him with extra details about what he is hearing at any given moment.
To provide further clarity about these concepts, refer to the table below showcasing different features and functions associated with tuning in to FM/AM radio stations:
| Feature | Description |
|---|---|
| Manual Tuning | Adjusting the dial manually for precise tuning |
| Preset Programming | Saving favorite stations for quick access |
| Seek/Scan Function | Automatically searching and scanning available stations |
| RDS (Radio Data System) | Displaying additional information about each station |
By mastering the scan function and tuning in to your favorite stations, you can ensure an enjoyable radio listening experience. In our next section, we will explore how to adjust the volume on your AM/FM radio seamlessly, allowing you to set the perfect audio level for any situation.
Adjusting the Volume
As an example, let’s consider a situation where you are driving on a long road trip and want to tune in to your favorite radio station. With the right knowledge and skills, you can easily navigate through various stations and find the perfect frequency for uninterrupted entertainment.
To ensure smooth tuning of your AM/FM radio, here are some essential tips:
-
Familiarize Yourself with Local Radio Stations:
- Get acquainted with local radio stations broadcasting in your area.
- Make note of popular channels that play your preferred genre or host informative talk shows.
- Keep track of their frequencies so that you can quickly switch between them when needed.
-
Utilize Seek and Scan Functions:
- Many modern radios come equipped with seek and scan functions.
- The seek function automatically scans available frequencies until it finds a clear signal.
- The scan function allows you to listen briefly to each station before moving on to the next one.
-
Adjust Antenna Positioning:
- The position of the antenna greatly affects reception quality.
- Extend the telescopic antenna fully for better FM reception.
- For AM stations, try adjusting its angle while being mindful of nearby objects that may cause interference.
-
Consider External Antennas:
Using external antennas can significantly improve radio reception by reducing noise and enhancing signal strength. Some common types include:
| Type | Description | Benefits |
|---|---|---|
| Dipole | Consists of two rods extending horizontally or vertically | Enhanced reception for both AM and FM signals |
| Loop | Circular or rectangular frame design | Effective for capturing weak distant signals |
| Wire | Lengths of wire attached outside | Inexpensive option providing satisfactory performance |
By following these tips, you will be able to enjoy crisp audio from your favorite radio stations.
Optimizing Antenna Performance
Transitioning from adjusting the volume, it is crucial to optimize antenna performance for optimal radio reception. Consider this scenario: imagine you are driving through a remote area with weak signal coverage. Despite your favorite station being within range, all you hear is static interference. This situation highlights the significance of optimizing antenna performance to enhance signal strength and overall listening experience.
To ensure optimal antenna performance, there are several key factors to consider:
-
Placement: Proper placement of the antenna can significantly impact reception quality. Placing it near a window or in an elevated position can help avoid obstructions that may impede signal reception.
-
Orientation: The orientation of the antenna matters as well. Experiment by rotating the antenna to different positions until you achieve improved signal strength and clarity.
-
External Amplifiers: In some cases, using external amplifiers can boost weak signals and improve overall reception quality. These amplifiers work by enhancing the incoming signal before it reaches your radio receiver.
-
Weather Conditions: Keep in mind that certain weather conditions such as heavy rain or thunderstorms can affect radio wave propagation and result in weaker signals temporarily.
Consider these tips when optimizing your antenna’s performance to maximize your listening experience:
| Tips for Optimizing Antenna Performance |
|---|
| Place the antenna near windows or in an elevated position |
| Rotate the antenna to find the best orientation |
| Consider using external amplifiers for enhanced reception |
| Be aware of how weather conditions may impact signal strength |
By following these guidelines, you can fine-tune your AM/FM radio’s antenna setup and enjoy clear and uninterrupted broadcasts across various locations. With optimized antenna performance, you’ll be ready to explore the next aspect of maximizing your radio’s capabilities – setting up presets.
Transition into subsequent section about “Setting Up Presets”: Once you have optimized your AM/FM radio’s antenna performance, it’s time to delve into the convenience of setting up presets for your favorite stations.
Setting Up Presets
Imagine you are driving through a remote area, enjoying your favorite radio station when suddenly the signal starts to fade. Frustrating, isn’t it? This situation highlights the importance of Optimizing Antenna Performance in an AM/FM radio. By ensuring that your radio’s antenna is properly set up and positioned, you can enhance reception quality and enjoy uninterrupted listening experiences.
To maximize antenna performance, consider the following tips:
- Use an external antenna: If possible, connect your radio to an external antenna for improved signal strength. External antennas are often more powerful than built-in ones, allowing you to pick up weaker signals from distant stations.
- Adjust the position: Experiment with different positions for the antenna to find the optimal placement. Sometimes simply moving it a few inches can make a significant difference in reception quality.
- Avoid interference: Keep your antenna away from other electronic devices or metallic objects that may cause interference. These sources can disrupt or weaken the received signals.
- Consider using amplifiers: In areas with weak reception, amplifiers can boost the signal strength and improve overall performance.
Enhancing your understanding of these techniques will help ensure that you get the most out of your AM/FM radio. Remember, by applying these strategies effectively, you can overcome challenging conditions and maintain excellent audio quality throughout your listening experience.
Now let’s delve into another important aspect of operating an AM/FM radio: setting up presets.
| Tips for Optimizing Antenna Performance |
|---|
| – Use an external antenna |
| – Adjust the position |
| – Avoid interference |
| – Consider using amplifiers |
| Preset Station | Frequency | Genre |
|---|---|---|
| 1 | 94.5 FM | Rock |
| 2 | 1020 AM | Talk Radio |
| 3 | 88.9 FM | Classical |
| 4 | 97.3 FM | Pop Hits |
When it comes to accessing your favorite stations quickly, setting up presets on your AM/FM radio is a game-changer. Presets allow you to save specific frequencies and conveniently switch between them with the press of a button. Whether you prefer news updates while sipping your morning coffee or blasting tunes during road trips, presetting stations can enhance your overall listening experience.
To set up presets effectively, follow these steps:
- Tune in to the desired station: Use the manual tuning feature or seek function to find the frequency you want to save as a preset.
- Select an empty preset slot: Most radios have multiple slots available for storing presets. Choose one that’s currently unoccupied.
- Save the frequency: Press and hold the designated preset button until you see/hear confirmation that the station has been saved.
- Repeat for additional presets: Repeat steps 1-3 for other stations you wish to store.
By taking advantage of preset functionality, you’ll never need to manually search for your preferred stations again. With just a simple press of a button, your radio will swiftly navigate through different frequencies, allowing you to enjoy seamless transitions between genres and programs.
In our next section, we will explore another method of navigating stations: using Seek function.
Transitioning seamlessly into the subsequent section about “Navigating Stations with Seek,” let’s dive deeper into this helpful feature.
Navigating Stations with Seek
In the previous section, we discussed how to set up presets on your AM/FM radio. Now, let’s explore another useful feature that will make tuning in to your favorite stations even easier – navigating stations with seek.
Imagine you’re driving through a new city and want to find a popular local radio station. By using the seek function on your radio, you can automatically search for available stations and quickly land on one without manually adjusting the frequency. This handy feature saves time and ensures that you don’t miss out on any great music or informative talk shows.
To navigate stations with seek effectively, follow these steps:
- Press the “seek” button on your radio.
- The radio will start scanning through frequencies until it finds a strong signal.
- Once a station is found, the seek function will stop, allowing you to listen to the selected station.
- If you want to continue searching for more stations, press the “seek” button again.
Navigating stations with seek offers several advantages:
- Convenience: With just a push of a button, you can effortlessly explore various stations without manually fine-tuning each frequency.
- Time-saving: Seeking eliminates the need for lengthy searches by automatically locating available stations based on signal strength.
- Enhanced listening experience: By swiftly finding strong signals, this feature guarantees better audio quality and reduces static interference.
- Discovering new content: Using seek allows you to stumble upon interesting programs or music genres that might not have been part of your regular listening routine.
Now armed with knowledge about Setting Up Presets and navigating stations with seek, our next step is to learn how to scan for new stations. This technique will enable us to expand our selection beyond preset channels and stay updated with fresh content. So let’s dive into the world of scanning for new stations!
Scanning for New Stations
Imagine you are on a long road trip, driving through different cities and towns. As you travel, you want to find the best radio stations for your entertainment along the way. This is where the seek function of an AM/FM radio comes in handy. By using seek, you can easily navigate through various stations and find the ones that suit your preferences.
To use this feature effectively, it’s important to understand how seek works. When you press the “seek” button on your radio, it automatically scans through available frequencies until it detects a strong signal from a station. Once found, it stops scanning and locks onto that frequency. This means that if there are multiple stations broadcasting at similar frequencies, seek will stop at the strongest one.
Here are some key points to keep in mind when using the seek function:
- Seek prioritizes stronger signals: The radio seeks out signals with better reception quality by focusing on stations with stronger transmitting power.
- Seek may skip weaker stations: If there are weak or low-power stations in close proximity to stronger ones, the seek function might skip over them and land on a more powerful station instead.
- Manually fine-tuning can be necessary: In areas with many overlapping stations or interference from other electronic devices, manual tuning may be required to find specific channels.
- Seek saves time and effort: Instead of manually searching each individual station one by one, utilizing seek allows for quicker navigation between different frequencies.
By understanding how seek operates and its limitations such as skipping weaker signals or needing manual adjustment in certain situations, listeners can make optimal use of this convenient feature while traveling. With just a push of a button, seekers can effortlessly find new and exciting radio content without wasting precious time scrolling through endless static or irrelevant channels.
So let’s dive into the world of fine-tuning and discover how to achieve crystal-clear reception.
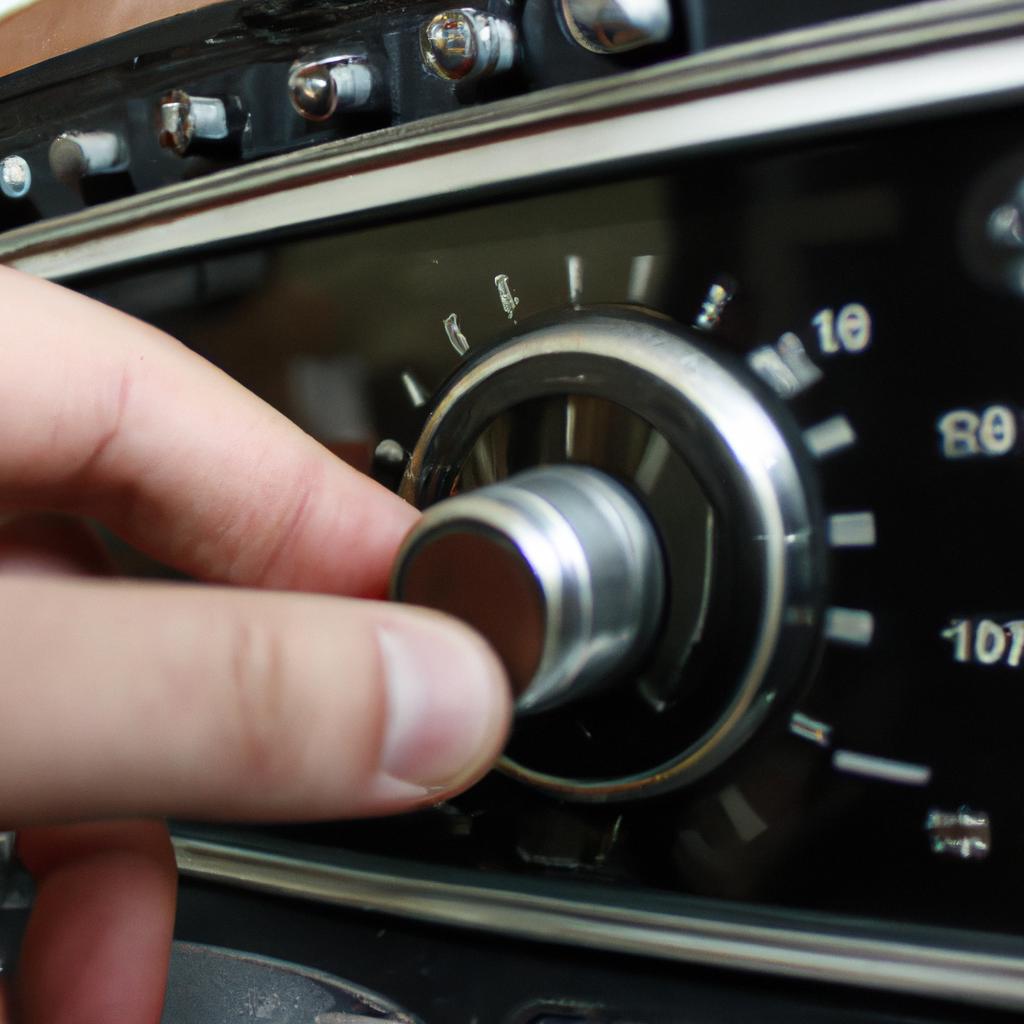
Fine-tuning the Frequency
Transitioning from the previous section, let us now explore the process of scanning for new stations on your AM/FM radio. Imagine you’re driving through a rural area and want to find a local station to listen to while enjoying the picturesque scenery. This situation highlights the importance of knowing how to scan for new stations effectively.
To begin, let’s discuss three key steps in scanning for new stations:
-
Activate the scan mode: Most modern radios have a dedicated button or feature that allows you to initiate the scanning process. By pressing this button, your radio will automatically search for available frequencies within its range.
-
Allow sufficient time for scanning: Depending on various factors such as signal strength and geographical location, it may take a few seconds or even minutes for your radio to complete the scanning process. Patience is essential during this stage as your device explores different frequency bands.
-
Save identified stations: Once your radio has finished scanning, it will display or audibly announce any detected stations. It is crucial to save these stations by using preset buttons or other applicable features provided by your radio model. Saving them ensures easy access in the future without having to repeat the entire scanning process again.
Now, let’s consider an example case study showcasing how effective scanning can enhance your listening experience:
| Scenario | Outcome |
|---|---|
| Driving through unfamiliar terrain | Discovered a local jazz station playing soothing melodies |
In this scenario, imagine being pleasantly surprised by stumbling upon a hidden gem amidst unknown territory – all thanks to performing an efficient scan!
Moving forward into our next section about fine-tuning frequency, we invite you to explore ways in which you can optimize reception and clarity when encountering weaker signals or interference. Understanding these techniques will enable you to make the most out of your AM/FM radio experience.
Next Section: Fine-tuning the Frequency
Controlling the Volume Levels
Now, let us delve into another vital aspect of operating a radio: controlling the volume levels. Understanding how to manage sound intensity can greatly enhance your listening experience.
Imagine you are sitting in a quiet room, enjoying your favorite radio program. Suddenly, an emergency weather alert interrupts the broadcast with a loud and blaring tone. This unexpected jolt not only startles you but also disrupts the tranquility of your surroundings. To prevent such incidents from occurring, it is essential to be proficient in adjusting volume levels promptly and accurately.
To effectively control volume on your AM/FM radio:
- Familiarize yourself with the volume knob or buttons on your device.
- Start by setting the volume at a moderate level before increasing or decreasing it as desired.
- Be mindful of sudden changes in programming that may result in fluctuations in audio intensity.
- Remember that different stations may have varying output levels, so keep this in mind when switching between channels.
Mastering these techniques will help you maintain an immersive auditory experience without causing disturbances or compromising clarity. By carefully managing sound levels according to personal preferences and external factors, you can fully immerse yourself in music, news reports, podcasts, or any other content provided by your chosen station.
| Volume Level | Description | Emotional Response |
|---|---|---|
| Low | Subtle background noise | Calm |
| Medium | Pleasantly audible | Comfortable |
| High | Engaging and immersive | Excited |
| Maximum | Potentially overwhelming | Overstimulated |
As depicted above, adjusting volume settings impacts more than just decibel levels; it affects emotional responses as well. Keep this chart in mind while regulating audio output, ensuring that you remain in a state of comfort and enjoyment throughout your listening experience.
In the upcoming section, we will explore techniques for enhancing antenna reception to maximize signal strength. By optimizing this aspect, you can further improve the quality of your radio broadcasts, allowing for clear and uninterrupted audio delivery. So let’s dive into this next crucial step without delay.
Enhancing Antenna Reception
Section: Enhancing Antenna Reception
Having learned about controlling the volume levels of your AM/FM radio, let’s now delve into enhancing antenna reception to optimize your listening experience. Imagine a scenario where you are enjoying your favorite radio station, but suddenly encounter static or weak signal. By implementing effective techniques to enhance antenna reception, you can overcome this issue and continue enjoying uninterrupted audio.
Here is an example that demonstrates the importance of optimizing antenna reception:
Suppose you have recently moved to a new location and notice that the FM stations on your radio sound distorted. Upon investigation, you realize that there could be interference from nearby buildings or environmental factors affecting the antenna reception. In order to improve the quality of signals received by your radio, consider employing these strategies:
-
Adjusting the antenna: Start by extending or repositioning the telescopic antenna attached to your portable AM/FM radio. Experiment with different angles and orientations until you find the position that yields optimal reception.
-
Utilizing external antennas: For situations where indoor or built-in antennas prove inadequate in capturing signals, it may be beneficial to use an external antenna. These antennas can significantly boost signal strength, especially if strategically placed near windows or higher elevations.
-
Minimizing interference sources: Identify potential sources of interference within close proximity to your radio setup, such as electronic devices (e.g., computers, fluorescent lights) or large metallic objects (e.g., appliances). Relocating these items away from your radio can help eliminate disruptions caused by electromagnetic waves.
-
Exploring alternative power sources: Some radios rely on batteries for power while others operate using AC adapters. If you are experiencing poor antenna reception with one power source option, try switching to another as it might mitigate any electrical noise interfering with signal clarity.
To further illustrate how these strategies can impact your listening experience, refer to the table below showcasing before-and-after scenarios with enhanced antenna reception:
| Scenario | Antenna Reception Quality |
|---|---|
| Before implementing strategies | Weak signal, occasional static |
| After optimizing antenna reception | Clear and uninterrupted audio |
By employing these techniques to enhance your radio’s antenna reception, you can ensure a more pleasant listening experience. Remember that experimentation and patience are key when finding the ideal setup for optimal signal strength.